TroXY X1
Approximately 3 years after jointly backing the CEL Robox on Kickstarter with my good friend Don, the head unit began to crap out on us and they no longer made replacements for the Kickstarter Beta Units. So when a good friend at work purchased a Prusa I3 MK2, I felt felt the void that was left by my 3D printer. So I went back on kickstarter, and was estatic to find that the race to the bottom of the cheap FDM market was beginning to provide some quality printers inside of the $300 range. I backed the Kodoma Obsidian in back in June, only to find the anticipation of a 3D printer was exacerbating the void.
So I took a look to find super cheap, budget 3D printer that would hold me over until my Obsidian came in. ]Makers Muse a popular 3D Printing youtube channel, did a review of the TronXY X1, which at the time sold for a little under $150. He was pleasantly surprised by the quality despite the price.
So I picked one up, and a week later, assembled it in about 2 hours. The assembly instructions were easy enough to follow, and I installed the included Repetier Host on my gaming machine and did a print. It was easy enough to setup, but the quality was certainly asking for some work, especially considering my previous two printers were a Makerbot 2X and a CEL Robox, both well over $1000.
However after playing with some settings, ditching Repetier for Cura, tightening the extruder pressure wheel, and using some painters tape for bed adhesion, it started printing flawlessly. I downloaded the Makerbot screw that I still had copies of from when I first started 3D printing at Fox on the Makerbot, and they worked just the same. In fact, if it were not for the different colors of material, I would not have been able to tell the difference.
Specs
The build volume of this little guy is 150mm x 150mm x 150 mm. Larger than that of the Obsidian I backed. The nozzle diameter is a standard 0.4mm, and it takes a standard 1.75mm PLA filament. It does not have a heated bed, however the board does have a spot to control one. However it has printed PLA flawlessly for me and the price of adding a heated bed wasn’t worth it on such a cheap printer. It has a Z-resolution of .1mm which is plenty small; most of the time I print at the default of 0.2mm which is a good compromise between fast and detailed.
Strengths
Cost. Hands down one of the better cheap printers out there. There are no essential parts of it which are 3D printed, it is all laser cut acrylic and extruded aluminium. The instructions for setting up were pretty straightforward and getting it up and running was pretty simple.
It has a removable build plate. This is extremely helpful in getting prints off of the build plate, especially due to the small size of the printer. It is easy to pop off the build plate, bend it and pop the pieces off. This sort of feature has certainly inspired the Prusa i3 MK3, with the flexible removable build plate.
Weaknesses,
The cantilevered design means that prints with a wide footprint can see some vibrational artifacts when printing too fast. When the head is farthest away from the Z tower and moving back and forth, you can see the X arm vibrating.
It is definitely a tinkerer’s machine. It takes some work to get to know the machine and what settings are needed to get good quality prints out of it.
The user interface certainly leaves a lot of to be wanted. Most of the cheap 3D printers that run the Marlin firmware have the encoder wheel which makes it easy. This basically has a Dpad, which makes it tedious to navigate the menus. However this can be mitigated easily by using OctoPrint.
Conclusion
The TronXY X1 is a fantastic budget printer. If you want to get a budget printer that you want to play around with without spending a fortune, or if you want to give your child a 3D printer so he can learn design and making, the TronXY X1 is an excellent entry level, hands on printer to get started with.
Samples
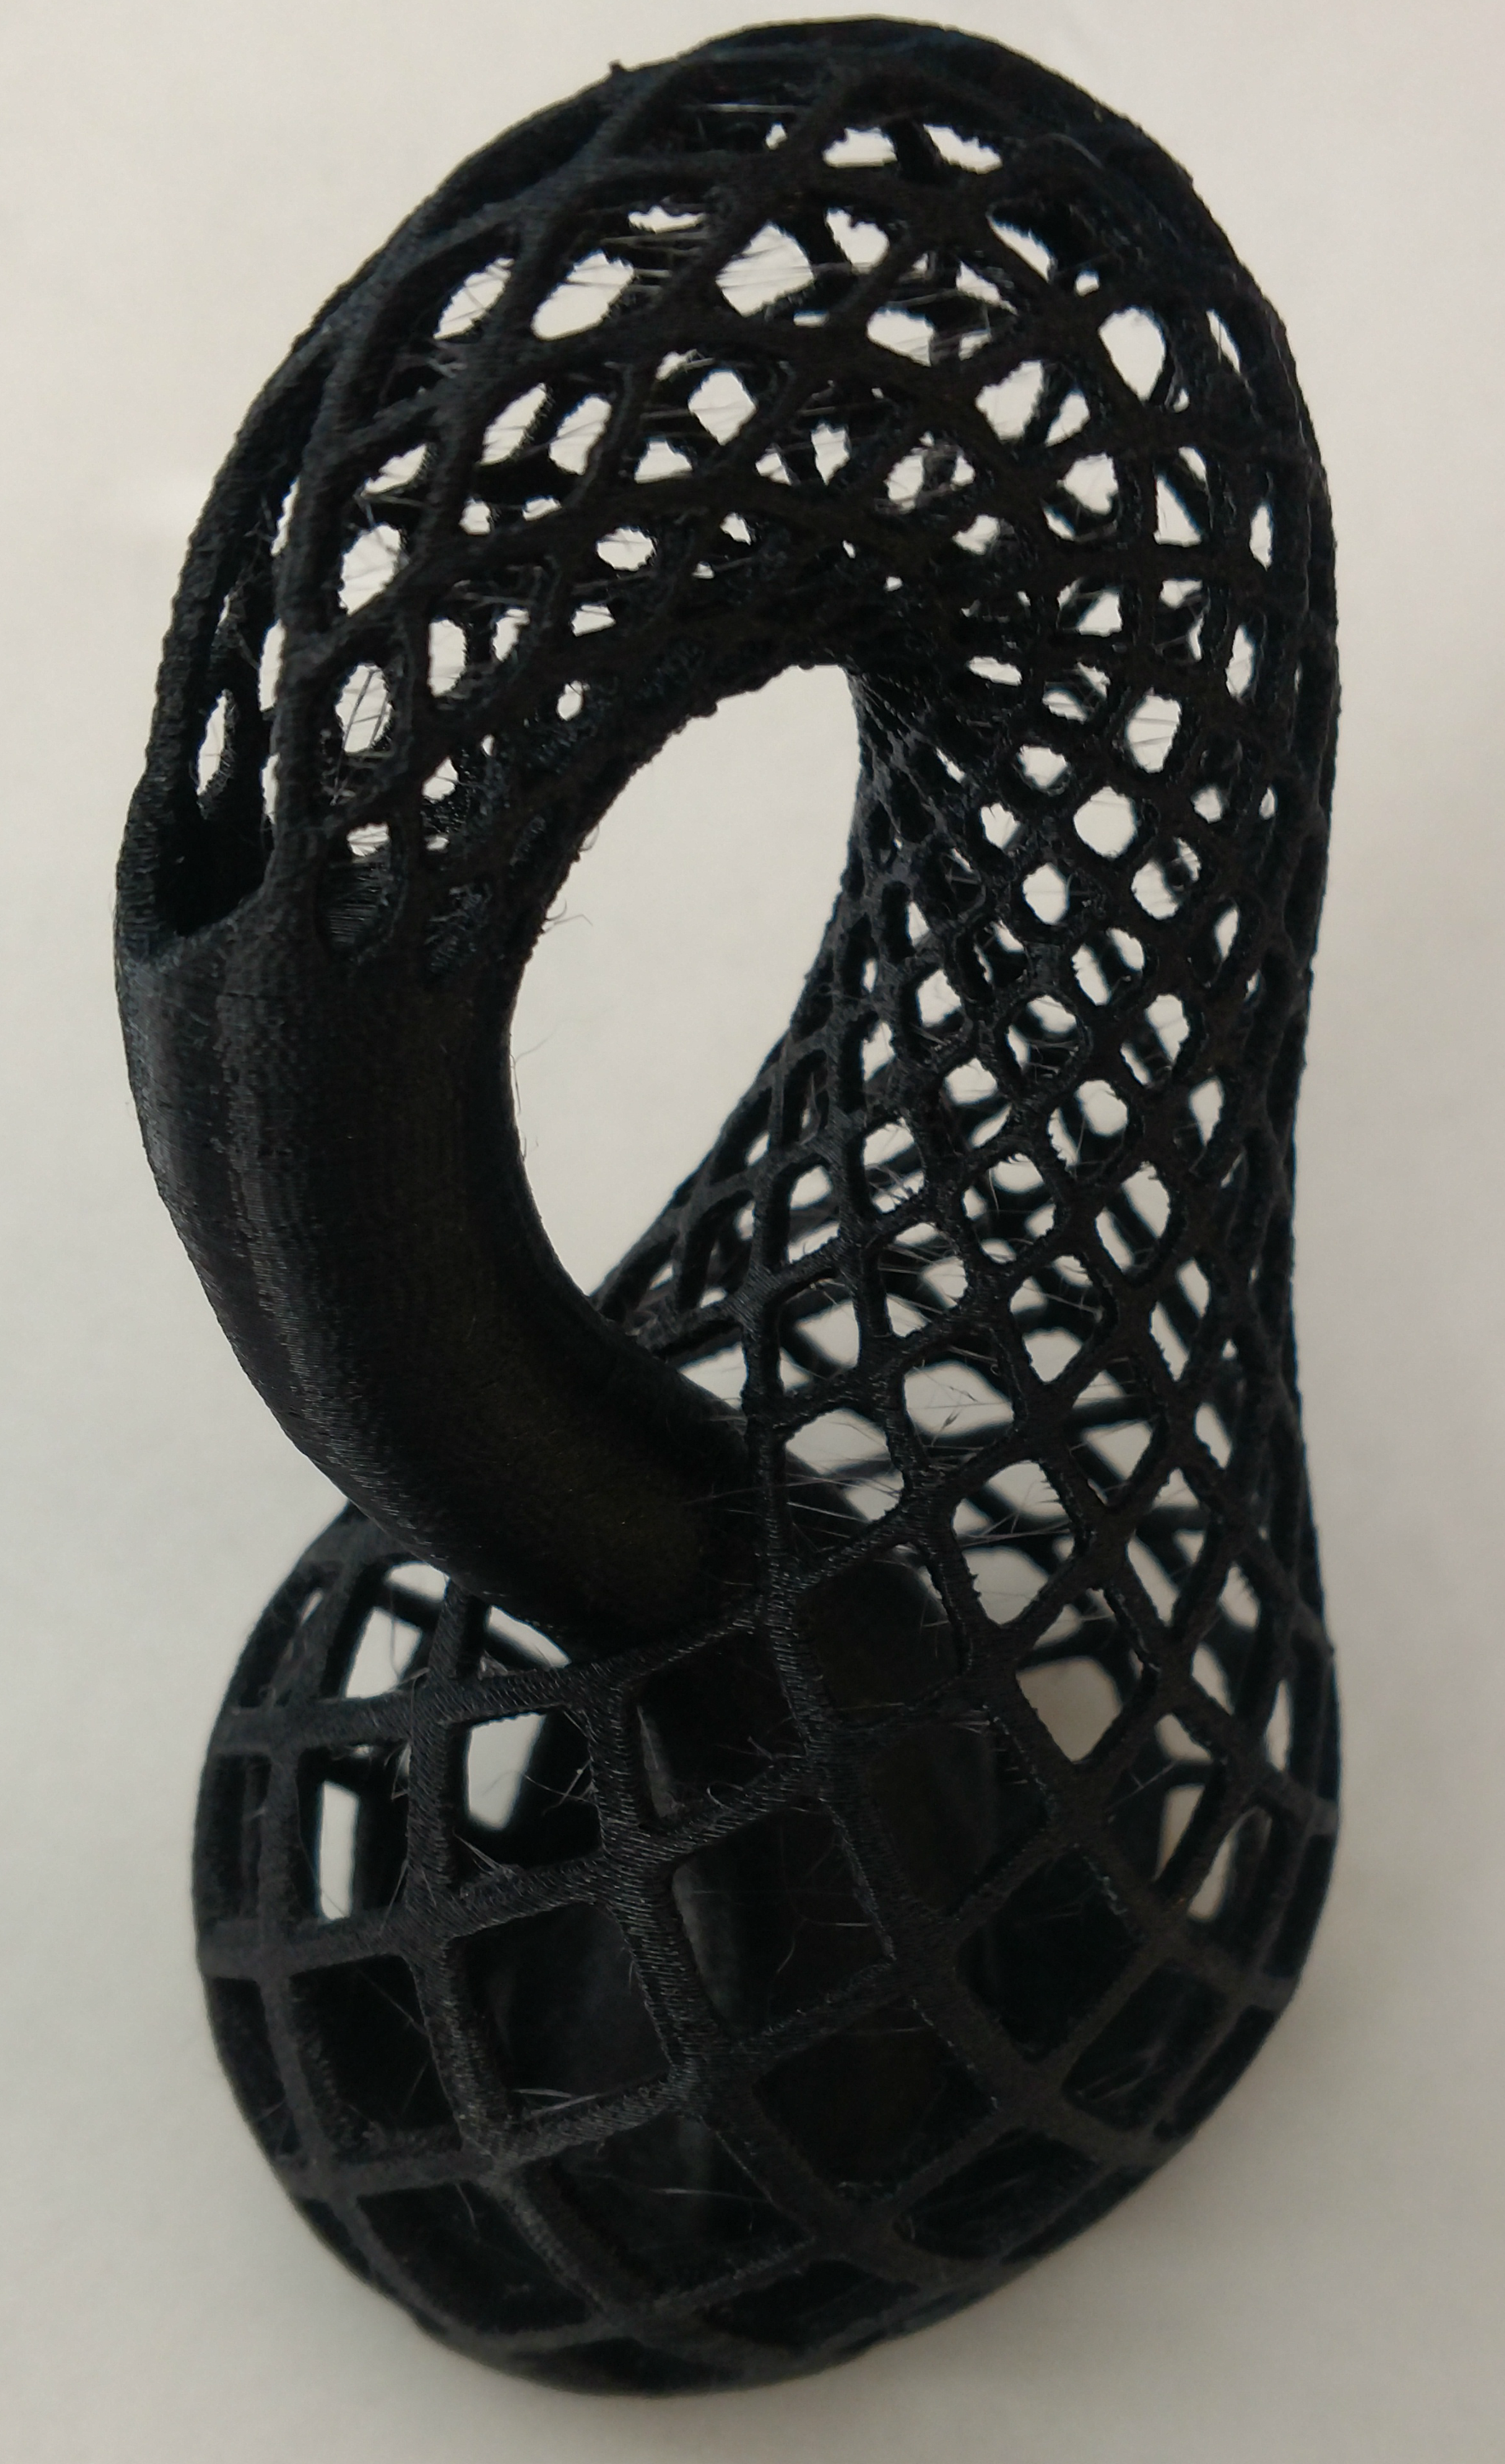
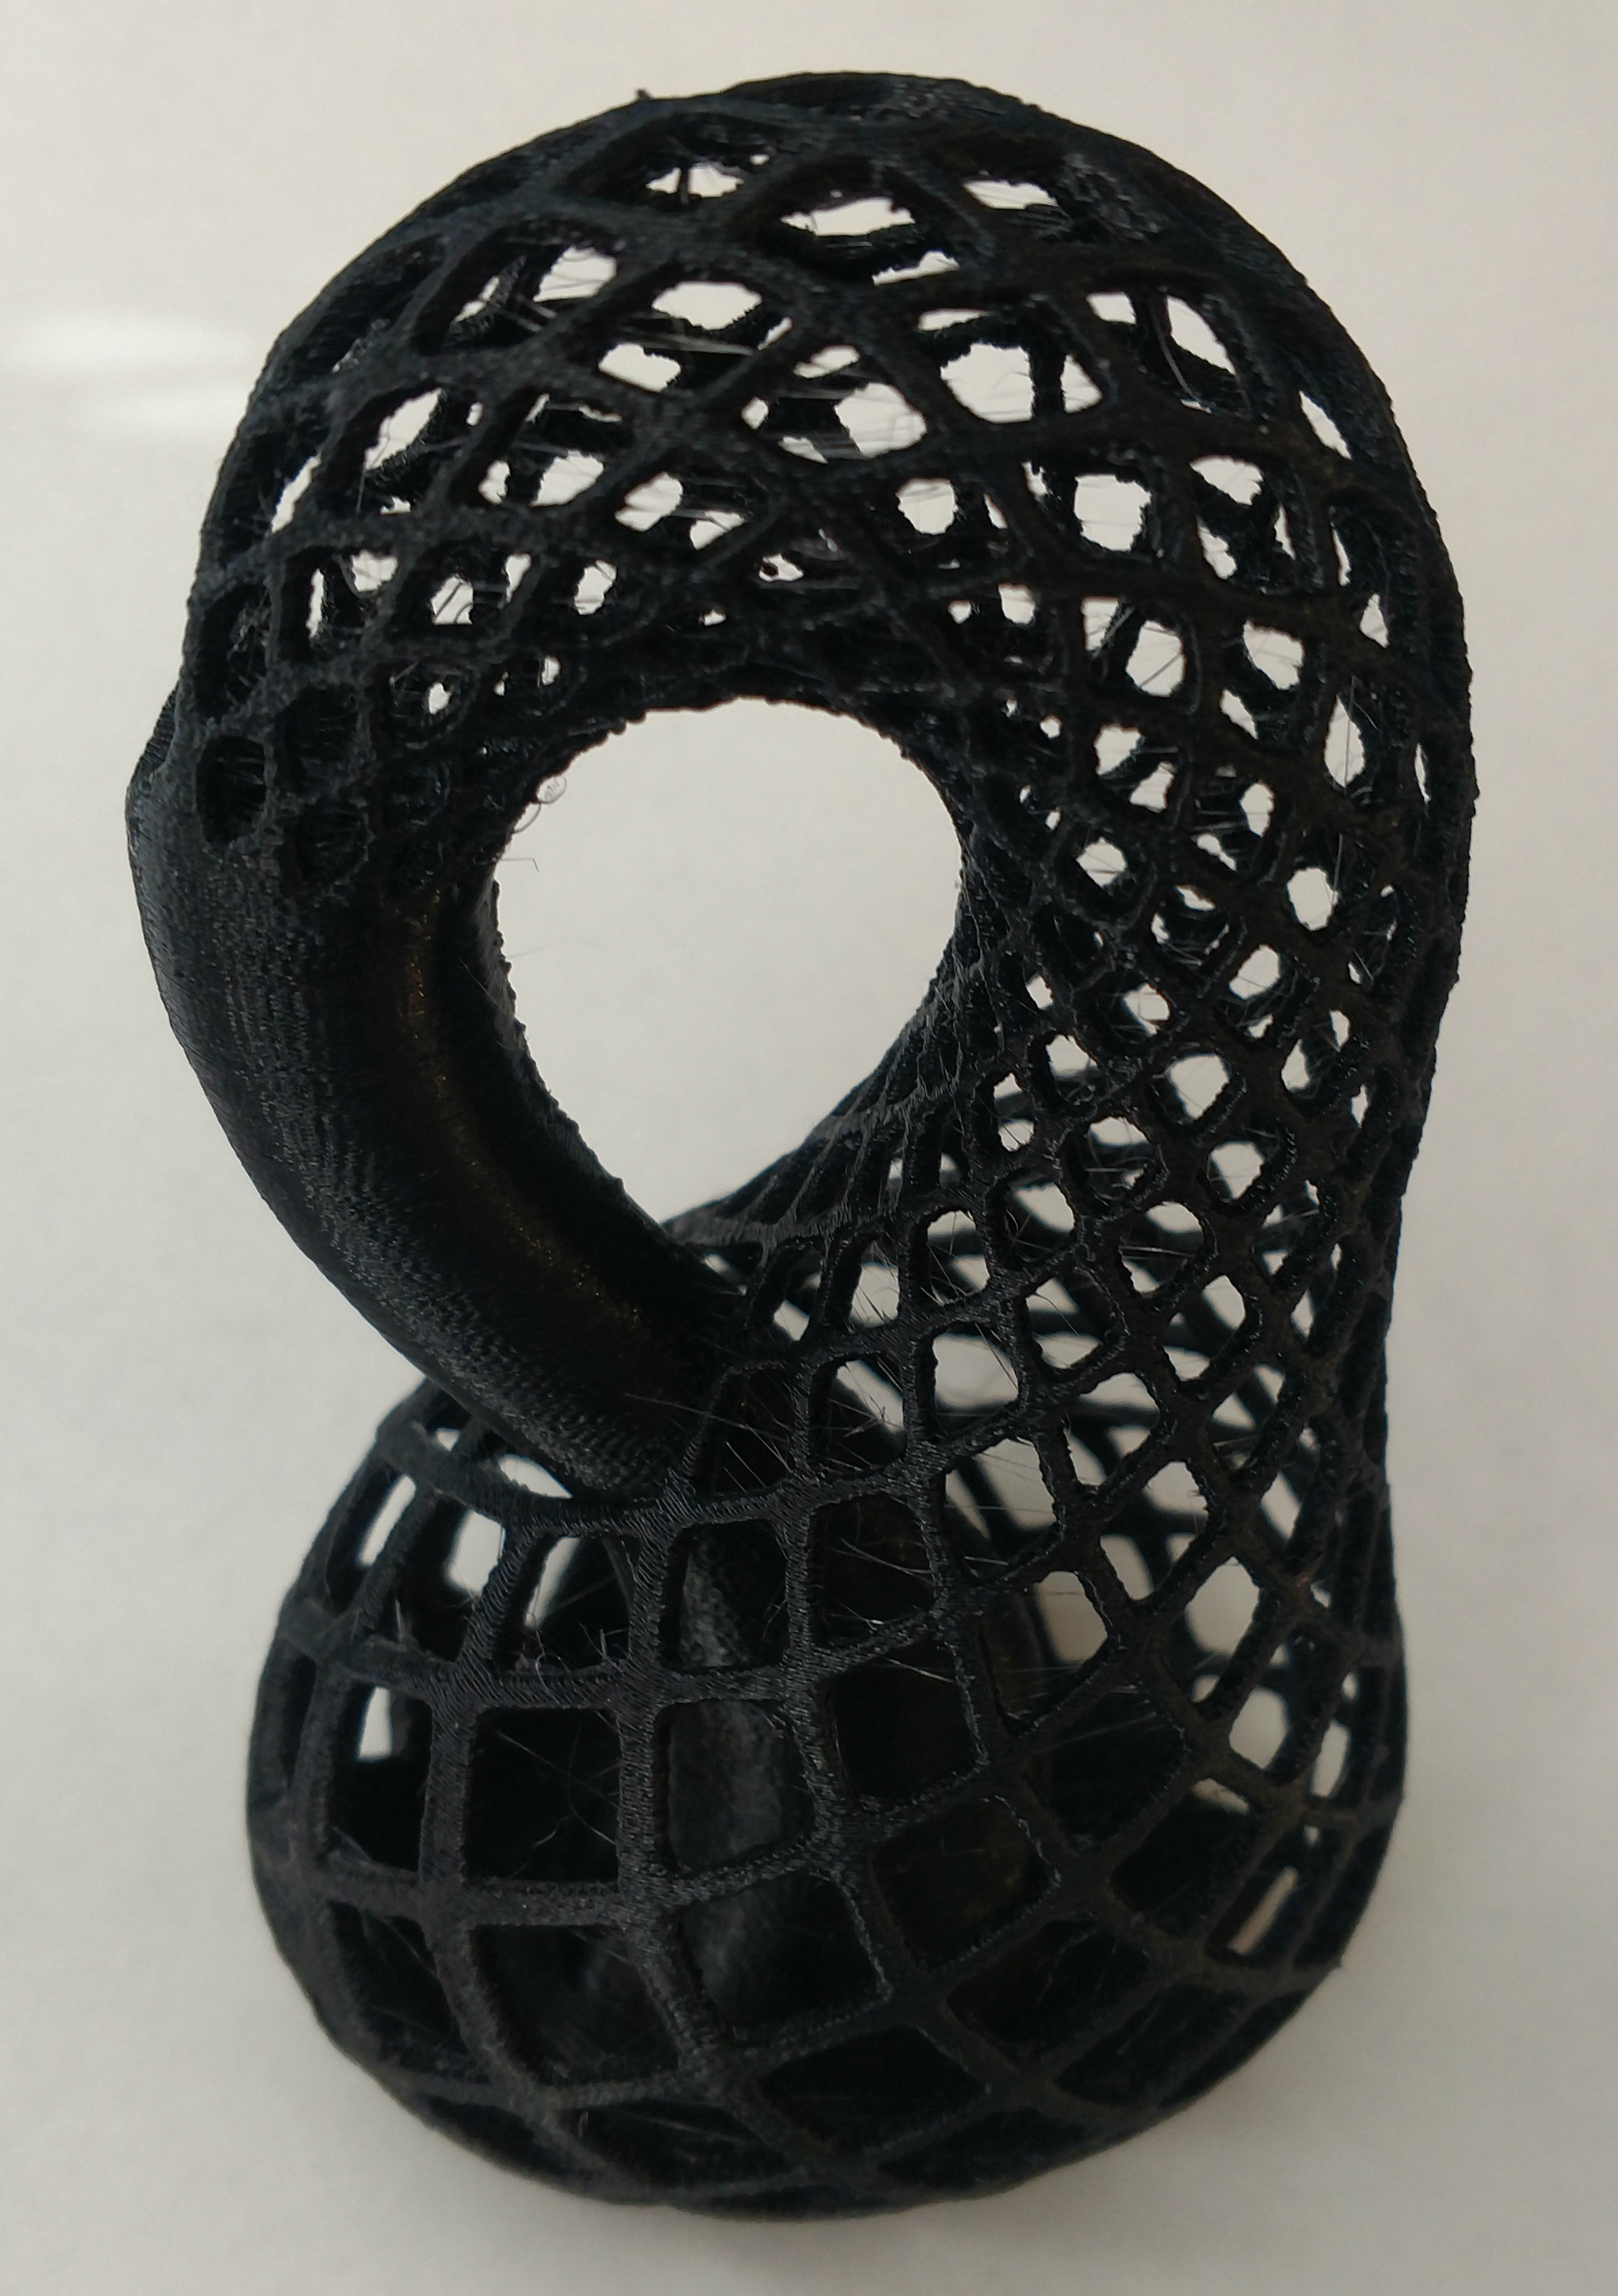
For a sample of its capabilities, here is the TronXY X1 printing a Klein Bottle I found on MyMiniFactory.
The model can be found here:
Here is the timelapse OctoPi produced of the print:
And some pictures of the final print: 

Note there is quite a bit of stringing present on this piece, and I found that this black filament tends to do that a bit more. The TronXY X1 is prone to this sort of stringing because it has no part cooling fan, however it is easly removed with a heat gun or hair dryer.
And a standard benchy: